
Student blog: How to create a stellar engineering portfolio
First year TEDI-London student, Christiaan, shares some of the insights he has learnt during his Applied Professional Skills & Portfolio module.
In engineering, making a portfolio is an excellent way to impress potential employers during job interviews, and can also help you structure conversations about the skills and experience you have gained during past projects. Because of this, having a good portfolio is crucial. What a “good” portfolio consists of is hard to pin down, but I like to use an infographic style; perhaps because I’m a visual learner and find that a picture speaks a thousand words. When creating a portfolio, I would recommend following three key steps:
1. Plan what to include
2. Decide on a style for your portfolio
3. Assemble the content
1. Plan what to include:
The first thing I do when making a portfolio is to nail down what information I want it to cover. It’s important to plan this first because it provides an overview of all the pieces that will be included overall, much like finding the corners in a jigsaw puzzle before starting.
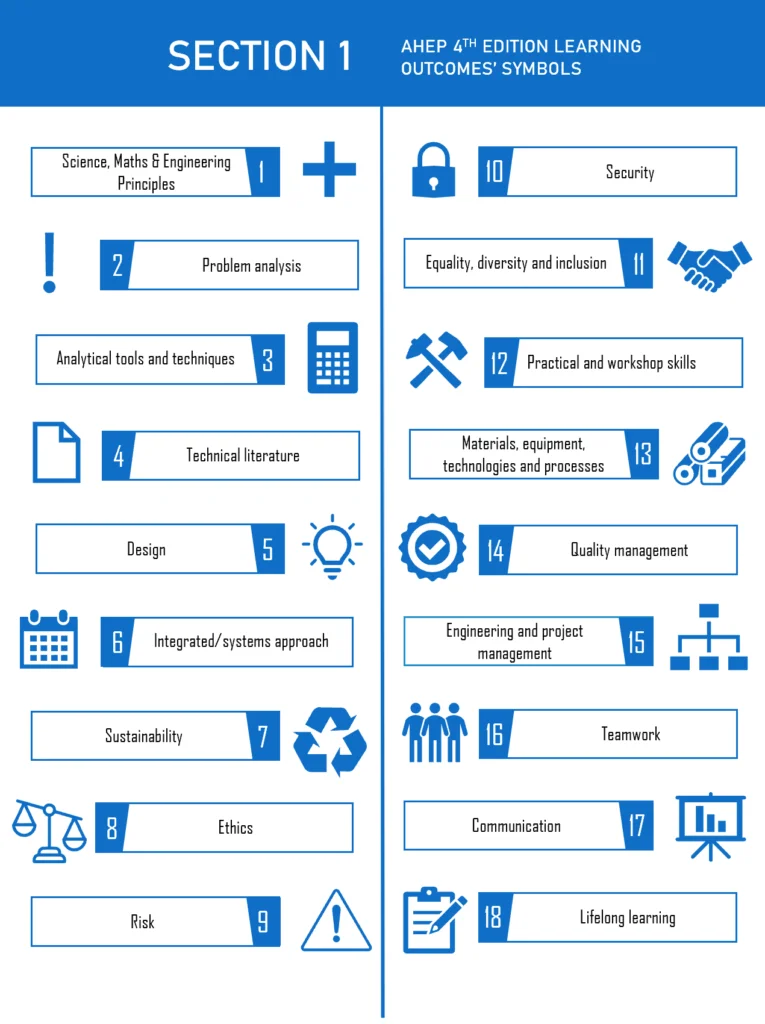
Generally, your engineering portfolio should showcase the knowledge and experience you have gained across different specialisms. This can be achieved by displaying a broad range of your completed projects and communicating which skills they helped you develop. Sometimes, employers will actually give you a list of things they are looking for which makes this part of the job a lot easier. For my portfolio, I was given one of these lists in the form of the Accreditation of Higher Education Programmes (AHEP) principles outlined by the Engineering Council.
It’s also important to consider how one piece of information flows to the next. Will the information be structured like a story, will it be a whistle-stop tour of your accomplishments, or will it just be a list of things you’re good at? Personally, I opted for a story structure because it helped the information flow, whilst still displaying the different competencies within each project.
2. Decide on a style for your portfolio:
Once you have a plan in place, you can start thinking about how you want your portfolio to look overall. This step is very important and usually makes or breaks a portfolio. It also happens to be the most fun and creative part of the process!
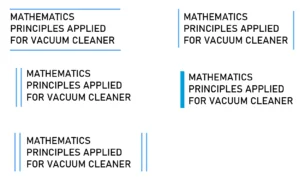
When choosing the style (things like colour, layout and font) for your portfolio, you should always think about who is going to be reading it. The tone of voice that you’re using to describe your work is another important consideration and should be consistent throughout. For example, if it’s for the director of a large company, it should be somewhat formal and very concise, as your intended audience would be used to the style of business documents and may not have much time to read a very detailed portfolio.
Equally, carefully considering things like how technical the content of your portfolio is and how much technical experience the reader has can help you determine whether or not to include jargon-heavy descriptions. In cases where you aren’t sure, or if you plan to share your portfolio with a mixed audience, it’s always best to avoid complex language and communicate your work as clearly and simply as possible.
The last major thing to think about when deciding on the style for your portfolio is what types of images are going to be featured. A colourful image could easily clash with other pieces of content, making your work look messy and difficult to understand. It might also draw your attention before other elements and overshadow the most important information.
3. Assemble the content:
It’s finally time to start putting your information down within the template you’ve made; sort of like adding the last few central pieces of a puzzle.
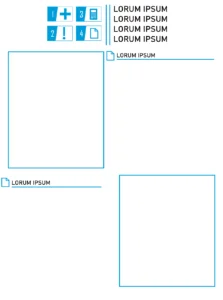
When presenting all the information and images you have gathered into the final document, it’s a good idea to consider the hierarchy of each page. By hierarchy, I mean what draws your attention first and last. For the most part, headings should draw your attention first, though this can be hard to do if you have lots of photographs on the page.
It’s very important that you have a standardised page layout throughout the portfolio, because this will help people to navigate it easily. As a starting point I try to remember that all my headings and labels have to look the same and each style of heading should be labelling the same hierarchy “level” of information.
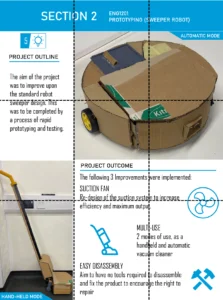
Getting the layout to be aesthetically pleasing can be a daunting task, however there is a sort of cheat method you can use. This would be the “rule of thirds” principle. As long as you split the page with 3 horizontal lines and 3 vertical lines and use those as guidelines for the placement of information, you should find that the layout looks neat and evenly spaced.
So there you have it, my three key steps on building a great engineering portfolio. Good luck creating your own!
Want to find out more about our Global Design Engineering modules? Read more student project stories.
More Student blogs articles

Student blog: Networking tips for engineering students
